Follow Me On Social Media!

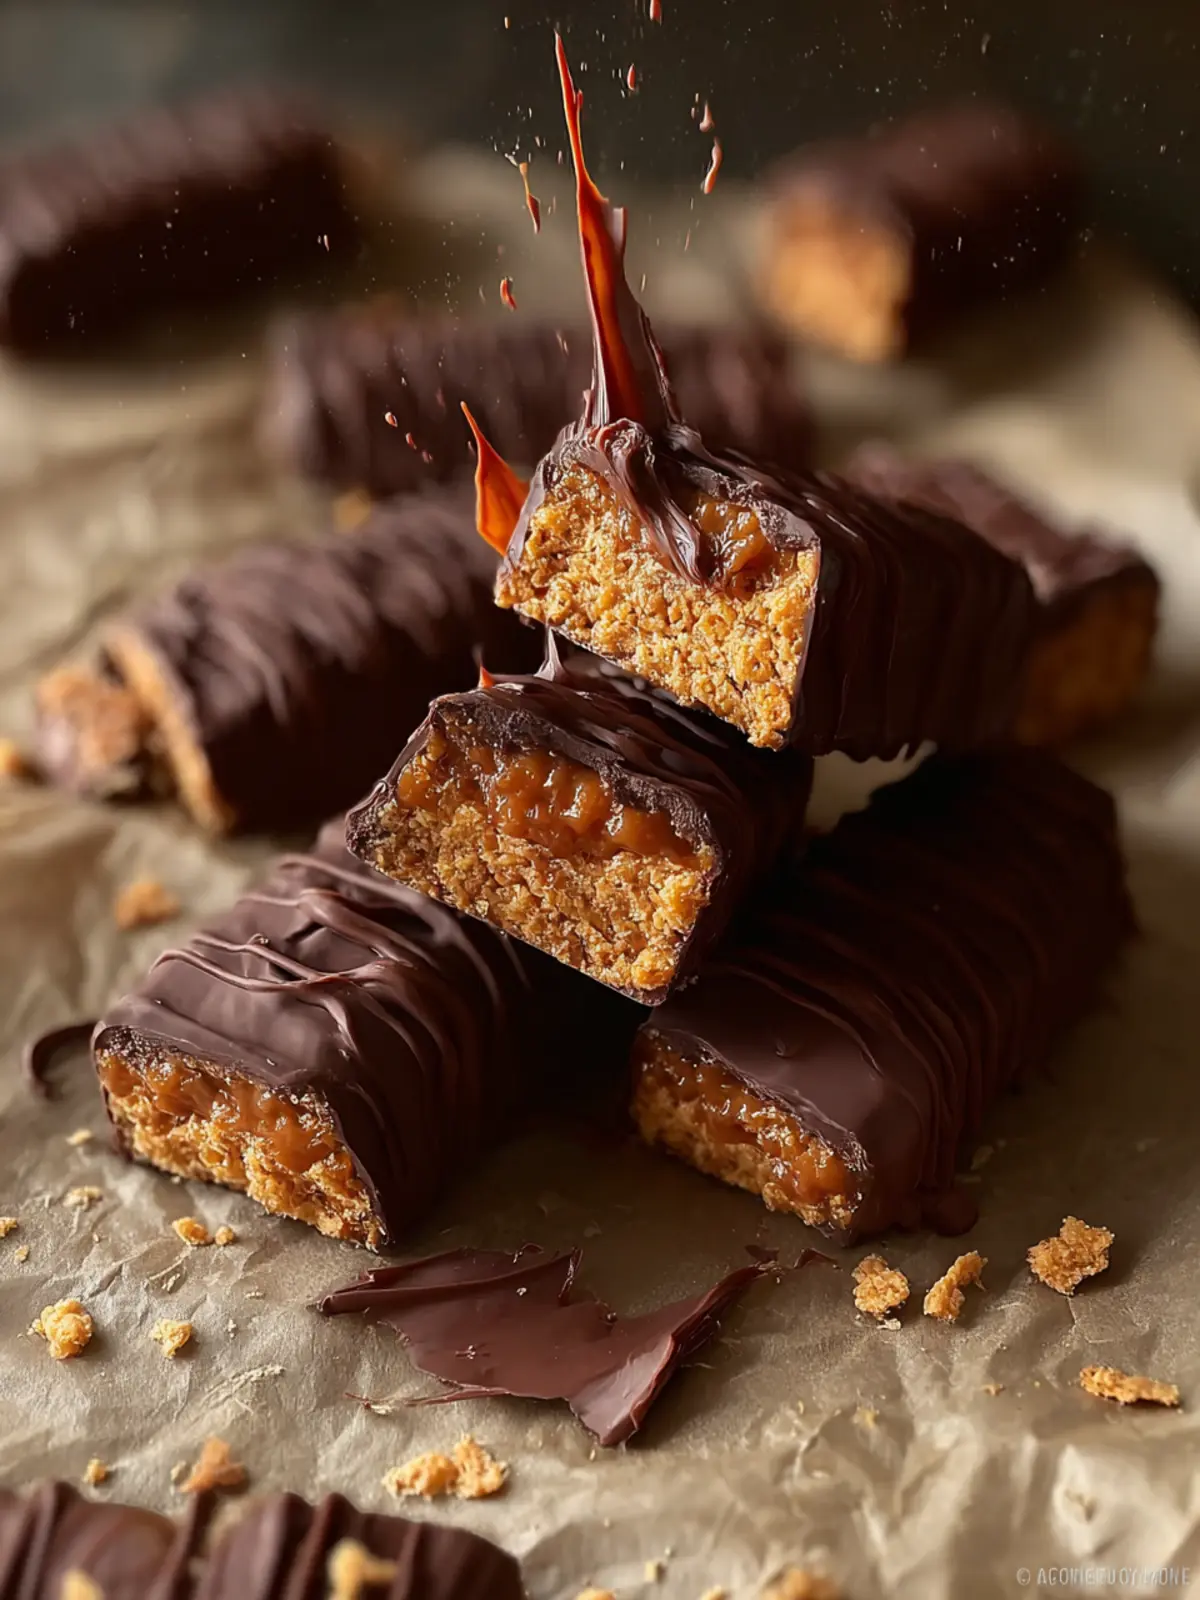
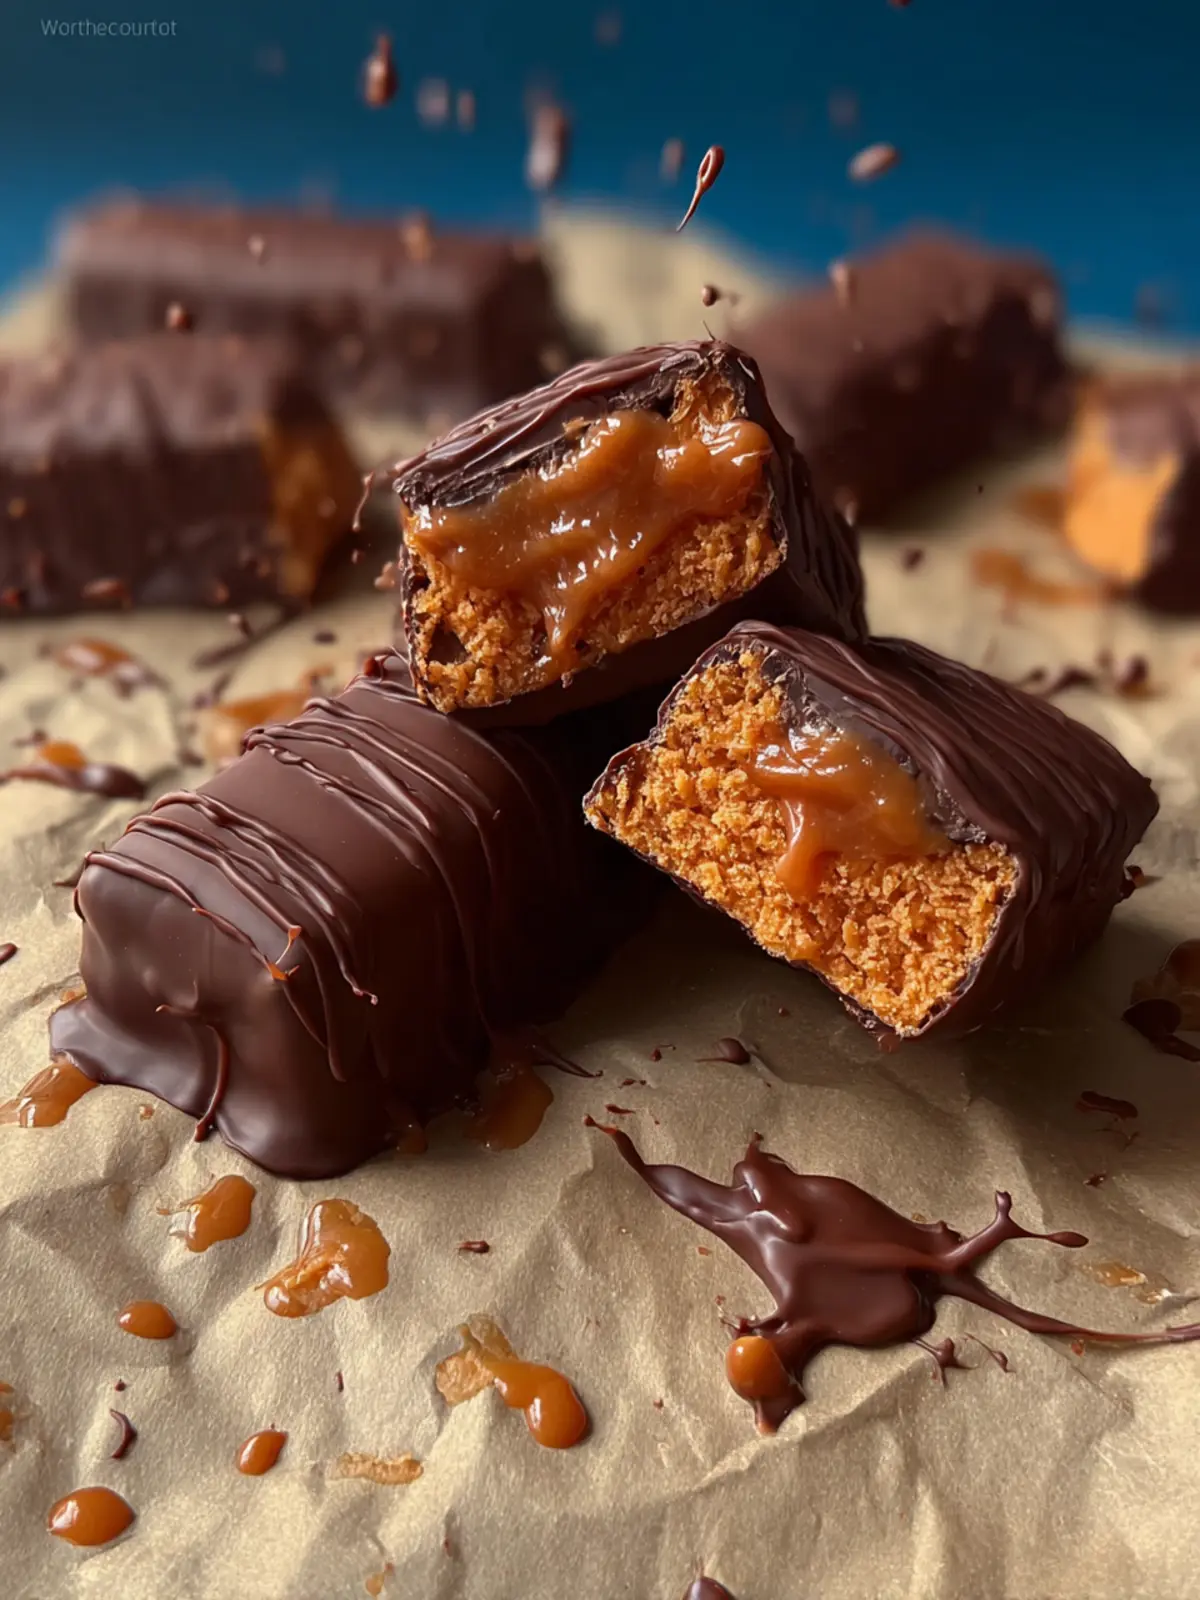
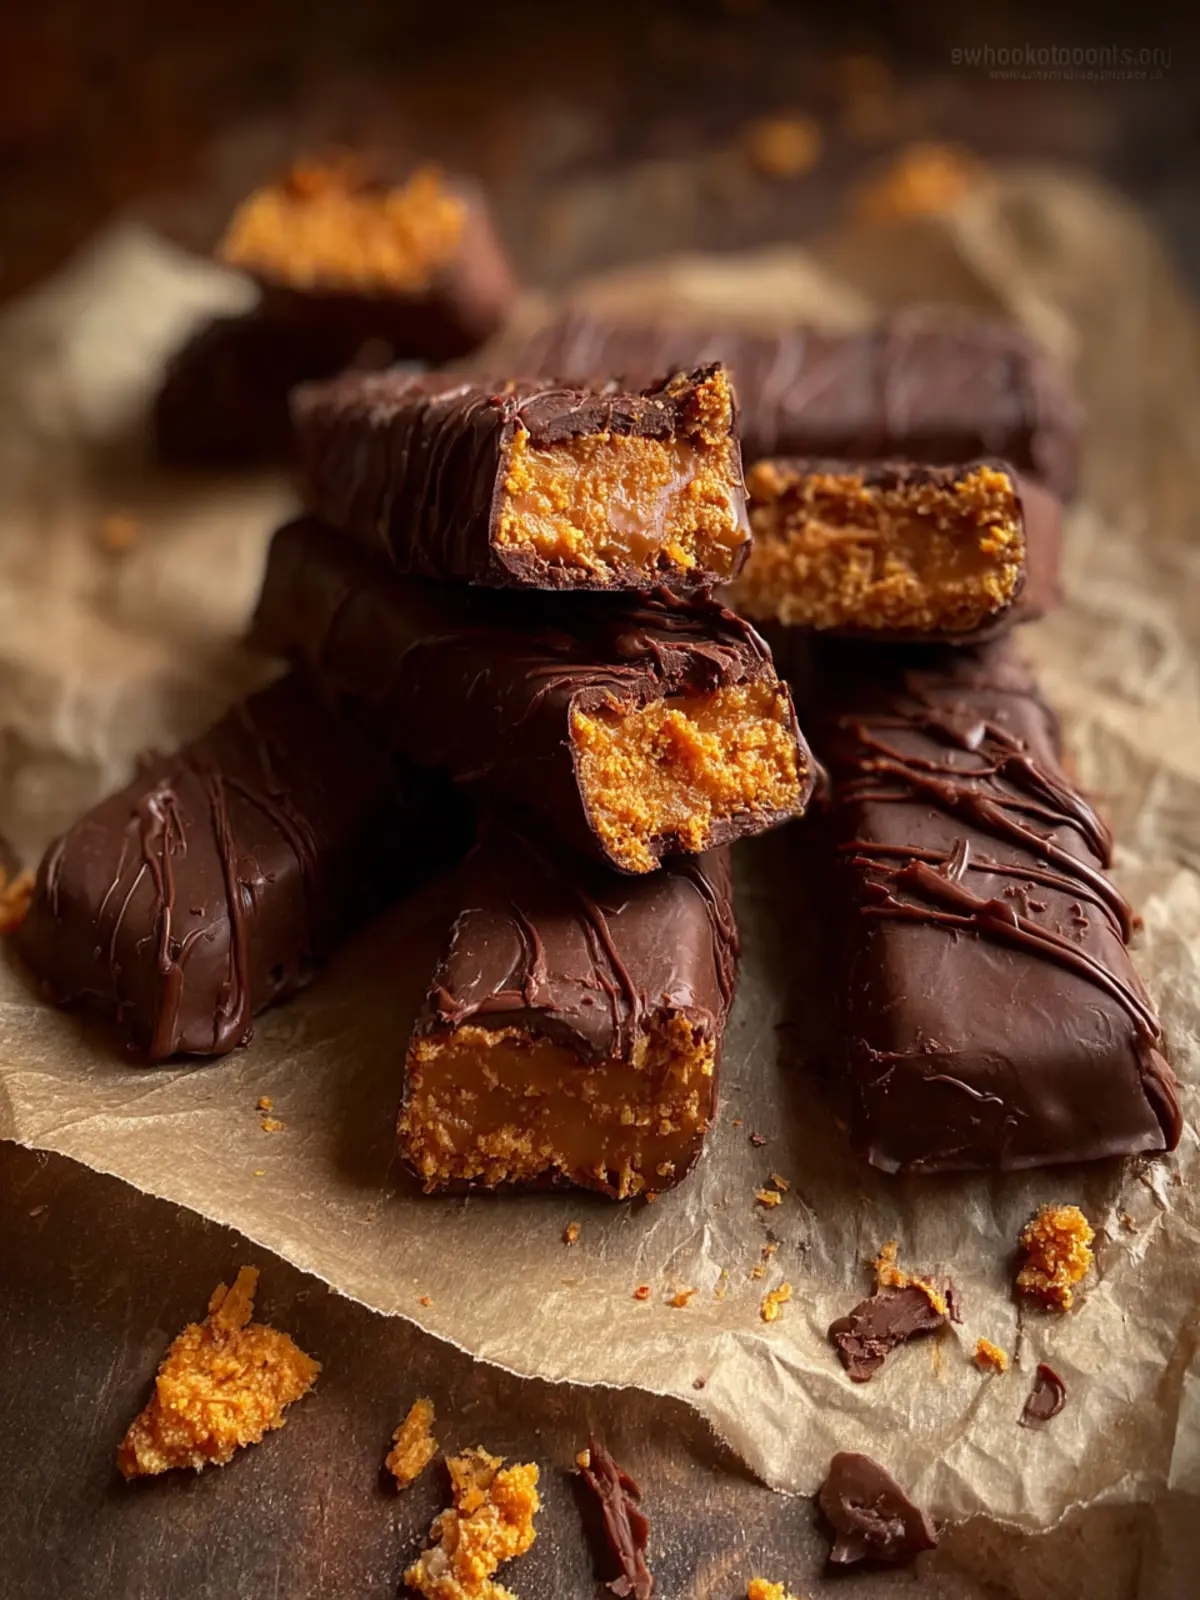
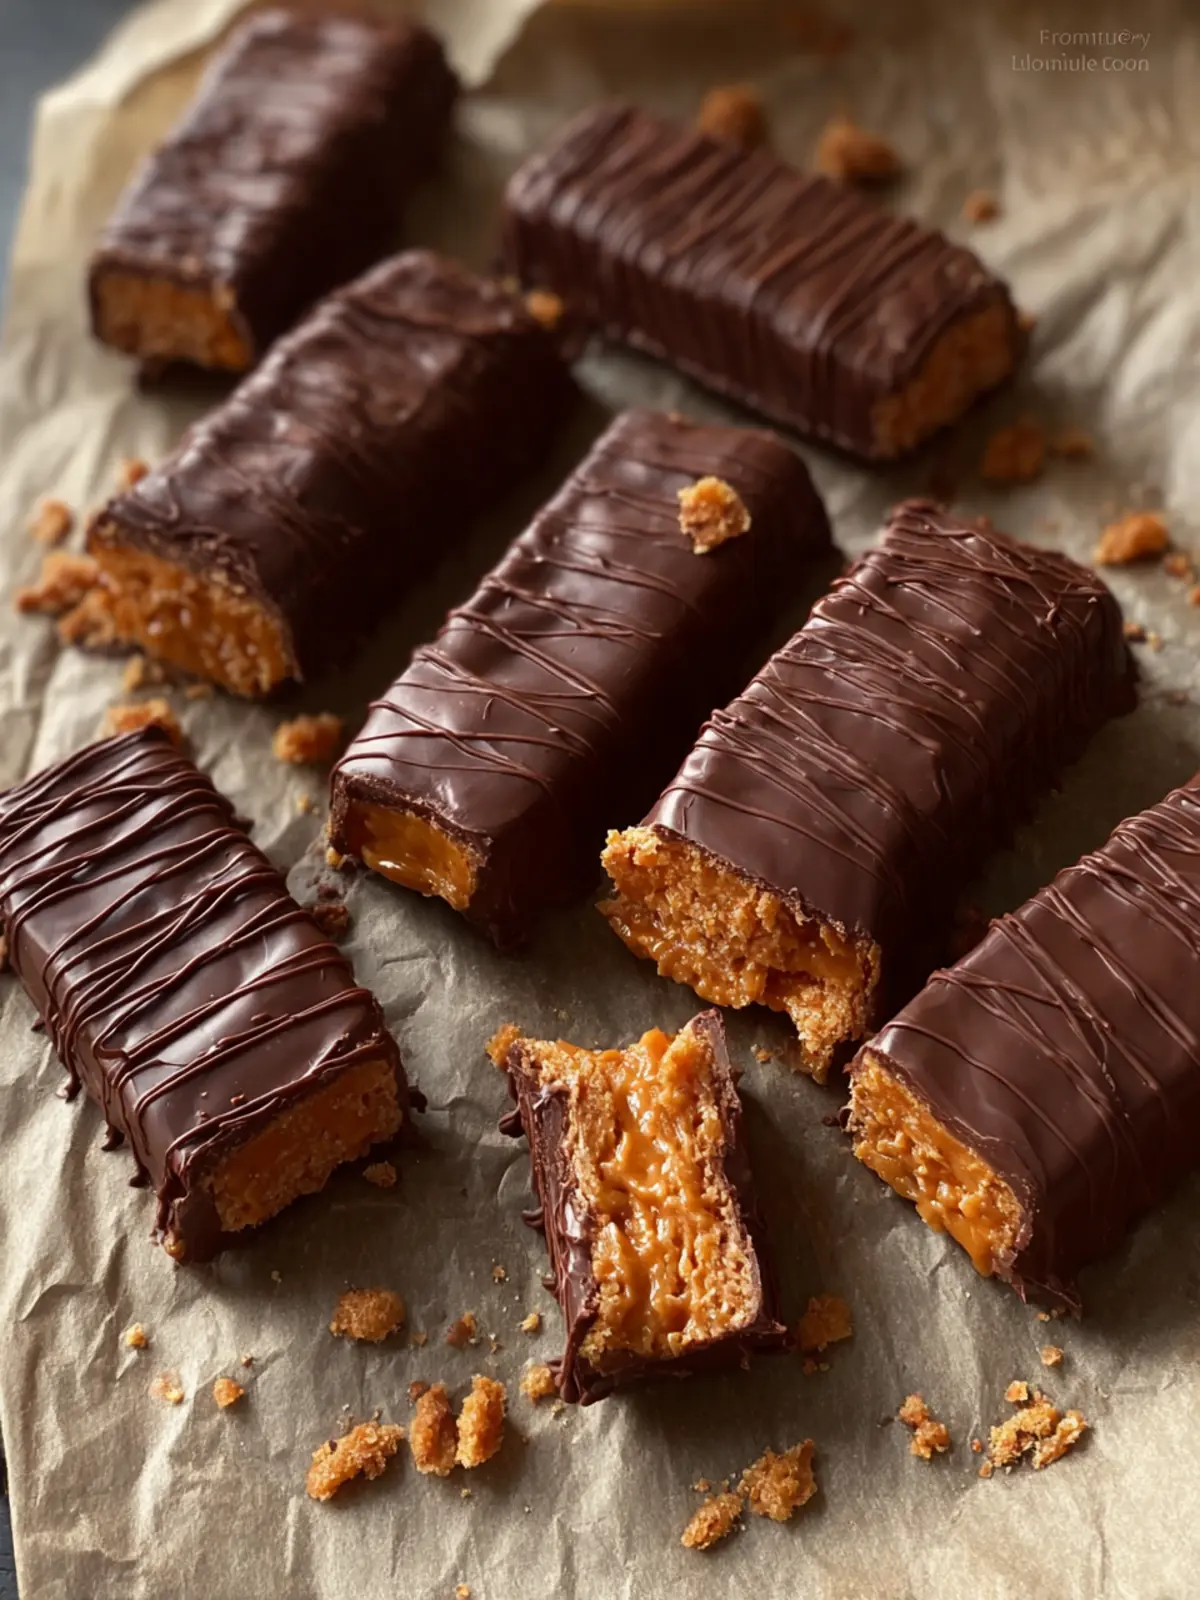
Healthy Homemade Butterfingers: Indulgent and Guilt-Free Delight
Introduction to Healthy Homemade Butterfingers
Imagine transforming a nostalgic childhood favorite, the classic Butterfinger, into a healthy homemade treat that satisfies your sweet tooth without the guilt. These healthy homemade Butterfingers are a delightful way to embrace your inner child while fueling your body with wholesome ingredients. As someone who has navigated the ups and downs of maintaining a balanced diet, I know how challenging it can be to resist those sugary snacks that call to you from the pantry. But what if I told you that you can create a guilt-free version right in your kitchen?
Making your own treats is not just about saving calories; it’s a journey that can reignite your passion for cooking. Here are a few reasons why diving into the world of homemade sweets is worth every minute in the kitchen:
Why Homemade Treats Are Worth It
-
Control Over Ingredients: One of the most significant advantages of making your healthy homemade Butterfingers is knowing precisely what goes into them. You can skip the artificial flavors and preservatives often found in store-bought candies and substitute them with nourishing ingredients.
-
Tailored Flavors: Homemade treats give you the freedom to experiment with flavors and textures. Prefer a little extra crunch? Toss in some nuts or seeds! Want to make them sweeter or less sweet? Adjust the sweetener to your liking—it’s entirely up to you.
-
Connection to Food: There’s something incredibly satisfying about preparing food from scratch. It encourages mindfulness and can even be therapeutic. This connection to what you eat also promotes better eating habits and appreciation for the effort that goes into making our meals.
-
Fun and Family-Friendly: Making healthy homemade Butterfingers can be a delightful activity to share with friends or family. Gather around the kitchen, create your unique variations, and enjoy the experience together—it becomes more than just a recipe; it’s a cherished moment.
So, as you roll up your sleeves and gear up for this sweet endeavor, remember: the joy of creating these delicious bars is only matched by the satisfaction of knowing you’re treating yourself to something truly nourishing. Let’s get started!
Key Ingredients for Healthy Homemade Butterfingers
Creating healthy homemade Butterfingers starts with carefully chosen ingredients that enhance flavor while maintaining a nutritious profile. Here’s what you need to know about each component.
Peanut Butter: I opt for natural peanut butter with minimal added ingredients—just peanuts and maybe a pinch of salt. This keeps it creamy and rich, delivering that coveted buttery texture without unnecessary sugars or oils. For a nut-free option, sunflower seed butter works beautifully!
Coconut Flour: This is my go-to for a gluten-free base. Coconut flour is rich in fiber and adds a subtle sweetness that complements the chocolate. It ensures that our bars maintain structure while keeping them light and fluffy.
Maple Syrup: Instead of refined sugar, I use pure maple syrup. It’s a fantastic natural sweetener that gives a deliciously sweet flavor, allowing you to indulge guilt-free. Plus, it contains beneficial antioxidants!
Dark Chocolate: I choose high-quality dark chocolate (70% cocoa or higher) for coating. This not only satisfies your chocolate cravings but also provides antioxidants. Just a little goes a long way.
Vanilla Extract: A splash of vanilla extract enhances the overall taste of your healthy homemade Butterfingers, bringing out the sweetness of the other ingredients and creating a warm, comforting flavor profile.
With these key ingredients, you’ll be well on your way to crafting a delightful and wholesome treat that satisfies your sweet tooth while nourishing your body.
Why You’ll Love This Recipe
Creating healthy homemade Butterfingers is like rediscovering a childhood classic with a grown-up twist. Imagine sinking your teeth into a crunchy, sweet treat that brings back memories of trick-or-treating, but this time, you’re indulging without the guilt. You’ll appreciate how easy and rewarding it is to recreate such an iconic candy.
Wholesome Ingredients Make a Difference
The beauty of these healthy homemade Butterfingers lies in their ingredient list. Unlike traditional versions loaded with sugar and preservatives, this recipe uses natural peanut butter, maple syrup, and dark chocolate. This not only enhances the flavor but also makes for a more nutritious snack. It’s delightful to know that each bite contains less sugar and more wholesome goodness.
Perfect for Any Occasion
Whether you’re in a mid-afternoon slump or prepping for a weekend movie night, these treats are versatile. They can satisfy sweet cravings while fitting into your balanced lifestyle. Imagine serving these to friends and family at a gathering; you’d be surprised at how quickly they disappear!
Get Creative with Variations
Feel free to experiment! Try adding different spices or even a sprinkle of sea salt to the chocolate for added depth. These healthy homemade Butterfingers are as fun to make as they are to eat. Once you try them, you’ll have a hard time resisting making them again and again.
Variations on Healthy Homemade Butterfingers
Creating healthy homemade Butterfingers invites endless creativity into your kitchen, perfect for those seeking a tasty yet nutritious treat. While the classic recipe is undeniably delicious, exploring variations not only satisfies different cravings but also caters to diverse dietary needs.
Flavorful Additions
-
Nut Butters: Instead of traditional peanut butter, try almond or cashew butter for a unique twist. Each provides a distinct nutty flavor, and almond butter offers a slightly sweeter profile.
-
Coconut: Shredded unsweetened coconut can add a tropical flair. It pairs beautifully with chocolate and enhances the chewy texture of the filling.
Alternate Sweeteners
-
Maple Syrup: If you’re looking to swap out refined sugars, maple syrup offers a rich, caramel-like sweetness. Use less than the suggested honey or agave to avoid overly wet filling.
-
Stevia or Monk Fruit: For a calorie-conscious choice, these natural sweeteners can provide the sweetness you desire with minimal impact on blood sugar levels.
Dietary Considerations
-
Vegan Options: Simply replace honey with maple syrup or agave nectar and use dairy-free dark chocolate to cater to vegan diets.
-
Gluten-Free: Ensure that your choice of protein powder is gluten-free to keep your healthy homemade Butterfingers suitable for those with gluten sensitivities.
Experimenting with these variations ensures you can enjoy the delightful crunch and rich flavors of Butterfingers in a way that suits your lifestyle. So, what will your next homemade Butterfinger version be?
Cooking Tips and Notes for Healthy Homemade Butterfingers
Creating healthy homemade Butterfingers can be an exciting adventure in your kitchen. As you embark on this sweet journey, here are some tips to elevate your treats while keeping them nutritious.
Choose Natural Sweeteners Wisely
When making your healthy homemade Butterfingers, selecting the right sweetener is crucial. I love using maple syrup or honey as they add a delicious flavor while providing a lower glycemic index than refined sugars. Remember, moderation is key; even natural sweeteners can add up quickly in calories.
Nut Butter Variations for Extra Flavor
Almond butter adds a subtle nutty taste to your bars, while peanut butter brings that classic Butterfinger profile. If you’re feeling adventurous, try sunflower seed butter for a fun twist! Just make sure any nut butter you choose is free from added sugars and oils for the healthiest version.
Texture Matters
The texture of your bars will depend on how finely you grind your ingredients. A food processor works wonders here! Aim for a mix that’s still slightly chunky; it gives those healthy homemade Butterfingers a delightful bite. If you like them sweeter, consider adding crushed nuts or seeds for both crunch and nutrition.
Layering for Flavor
Don’t forget to layer your chocolate! Dip the bars in chocolate twice for a richer taste. Let the first layer set before dipping again. It creates a perfect outer shell that will remind you of a classic Butterfinger while keeping things wholesome.
By paying attention to these details, your healthy homemade Butterfingers will not only satisfy your sweet tooth but also offer a nourishing treat!
Serving Suggestions for Healthy Homemade Butterfingers
Transforming healthy homemade Butterfingers from a delightful treat to a sensational snack can be an exciting venture. Picture this: sitting down after a long day, cradling a piece of your homemade confection, and enjoying it with your favorite beverage. Here’s how to elevate your experience:
-
Pair with Nut Milk: Enjoy your butterfingers alongside a glass of unsweetened almond or cashew milk. The creamy drink complements the rich chocolate and nutty flavors, making for a satisfying afternoon break.
-
Snack Platter: Create a snack platter featuring your healthy homemade Butterfingers, fresh fruit, and a handful of nuts. The nuttiness, sweetness, and crunch of the platter add complexity, turning a simple treat into an impressive presentation for guests.
-
Dessert Upgrade: Crumble your Butterfingers over Greek yogurt or a bowl of smoothie for an indulgent yet healthy dessert. The contrast of textures will not only please your palate but also pack a nutritional punch.
Indulging in these serving suggestions can make those healthy homemade Butterfingers a versatile and satisfying part of your routine!
Time Breakdown for Healthy Homemade Butterfingers
Creating healthy homemade butterfingers can be a delightful experience, and knowing how much time to allocate makes the process even sweeter. Here’s how the timing breaks down for this delicious treat:
Preparation Time
In about 30 minutes, you can gather your ingredients and prepare the mixture. From melting the nut butter to mixing the honey and protein powder, this step is easy and fun!
Chilling Time
Next, a bit of patience is required for chilling. Allow your butterfingers to set in the refrigerator for around 1 hour. This step is crucial for achieving that perfect texture.
Total Time
All in all, you’re looking at just 1 hour and 30 minutes to enjoy your homemade treats. With this time frame, you can easily whip up a batch when cravings hit!
Nutritional Facts for Healthy Homemade Butterfingers
Crafting your own healthy homemade Butterfingers is not just a delicious endeavor; it’s also a mindful choice that aligns with your health goals. Here’s a quick breakdown of what these sweet treats bring to the table.
Calories
In each delectable serving of your healthy homemade Butterfingers, you can expect to consume about 150 calories. This makes them a lighter option compared to traditional candy bars, allowing you to satisfy your sweet tooth with less guilt.
Protein
These buttery bites are packed with protein—around 6 grams per serving. This boost helps keep you feeling full and energized, making them a great post-workout snack or an afternoon pick-me-up.
Sugar
One of the best parts? You’ll only find about 4 grams of sugar in each serving. By using natural sweeteners, these healthy homemade Butterfingers offer a sweet taste without the sugar crash, satisfying your cravings while prioritizing your health.
FAQs about Healthy Homemade Butterfingers
Creating your very own healthy homemade Butterfingers can be a game changer for satisfying sweet cravings while keeping nutrition in check. As you embark on this delightful journey, here are some frequently asked questions to guide you along the way.
Can I use a different nut butter?
Absolutely! While the recipe might call for a specific nut butter, feel free to experiment with your favorites such as almond, cashew, or even sunflower seed butter for a nut-free option. Just be mindful that different nut butters can have varying flavors and textures, which may slightly alter the final taste of your healthy homemade Butterfingers.
How long do these bars last?
Once your healthy homemade Butterfingers are prepared, they can be stored in an airtight container in the refrigerator for up to two weeks. If you’re looking to extend their lifespan, try freezing them! Just wrap each bar in parchment paper and pop them into a freezer-safe bag. They can last up to three months in the freezer, making for a perfect make-ahead treat for busy days.
Can I make them nut-free?
Definitely! If you need a nut-free version of these bars, opt for sunflower seed butter or tahini instead. These alternatives not only keep the recipe compliant with nut-free dietary needs, but they also add their own unique flavors. Just remember to check all other ingredients for any nut-based additives to ensure that your homemade Butterfingers stay allergen-free.
With these tips, you’ll be all set to craft your delightful and nutritious healthy homemade Butterfingers! Enjoy the sweet satisfaction, guilt-free!
Conclusion on Healthy Homemade Butterfingers
Creating healthy homemade Butterfingers allows you to satisfy your sweet tooth without the guilt that often accompanies store-bought candy. With wholesome ingredients like natural peanut butter and a touch of maple syrup, you’re indulging in a delightful treat that’s also packed with nutrients. What’s even better is how incredibly easy they are to make—no baking required! Imagine sharing these delicious bars with friends or keeping them as a handy snack throughout the week. By opting for a homemade version, you control the quality of ingredients, creating a refined candy experience that still feels like a guilty pleasure. Embrace this fun project and enjoy every bite!
Print
Chocolate Peanut Butter Corn Flake Bars
- Total Time: 35 minutes
- Yield: 12 bars 1x
- Diet: Gluten-Free
Description
Delicious no-bake chocolate peanut butter corn flake bars, perfect for a quick treat!
Ingredients
Scale
- 1 cup natural creamy peanut butter (unsweetened)
- 1/2 cup pure maple syrup
- 2 cups corn flakes (gluten-free, crushed lightly)
- 1/4 teaspoon sea salt
- 1 teaspoon pure vanilla extract
- 1 ½ cups dark chocolate chips (dairy-free if desired)
- 1 tablespoon coconut oil
Instructions
- Line an 8×8-inch baking pan with parchment paper.
- In a medium saucepan over medium-low heat, combine peanut butter and maple syrup. Stir constantly for about 2-3 minutes, until the mixture is smooth and just begins to bubble.
- Remove the pan from heat. Stir in sea salt and vanilla extract. Gently fold in the crushed corn flakes until thoroughly coated.
- Transfer the mixture into the prepared pan. Press down firmly and evenly with a spatula or your hands to pack it tightly. Chill in the freezer for at least 20 minutes to firm up.
- While the bars are chilling, melt the dark chocolate chips and coconut oil together in a microwave-safe bowl in 30-second increments, stirring in between, until smooth.
- Remove the chilled mixture from the pan and cut into desired bar shapes (about 12 pieces). Dip each piece into the melted chocolate mixture using a fork, letting excess drip off, and place on a parchment-lined tray.
- Return to the freezer for another 15-20 minutes, or until chocolate is set.
Notes
- Store bars in an airtight container in the refrigerator for up to a week.
- For a crunchy texture, ensure corn flakes are lightly crushed.
- Prep Time: 10 minutes
- Cook Time: 5 minutes
- Category: Dessert
- Method: No-Bake
- Cuisine: American
Nutrition
- Serving Size: 1 bar
- Calories: 200
- Sugar: 10g
- Sodium: 100mg
- Fat: 12g
- Saturated Fat: 5g
- Unsaturated Fat: 7g
- Trans Fat: 0g
- Carbohydrates: 20g
- Fiber: 2g
- Protein: 4g
- Cholesterol: 0mg